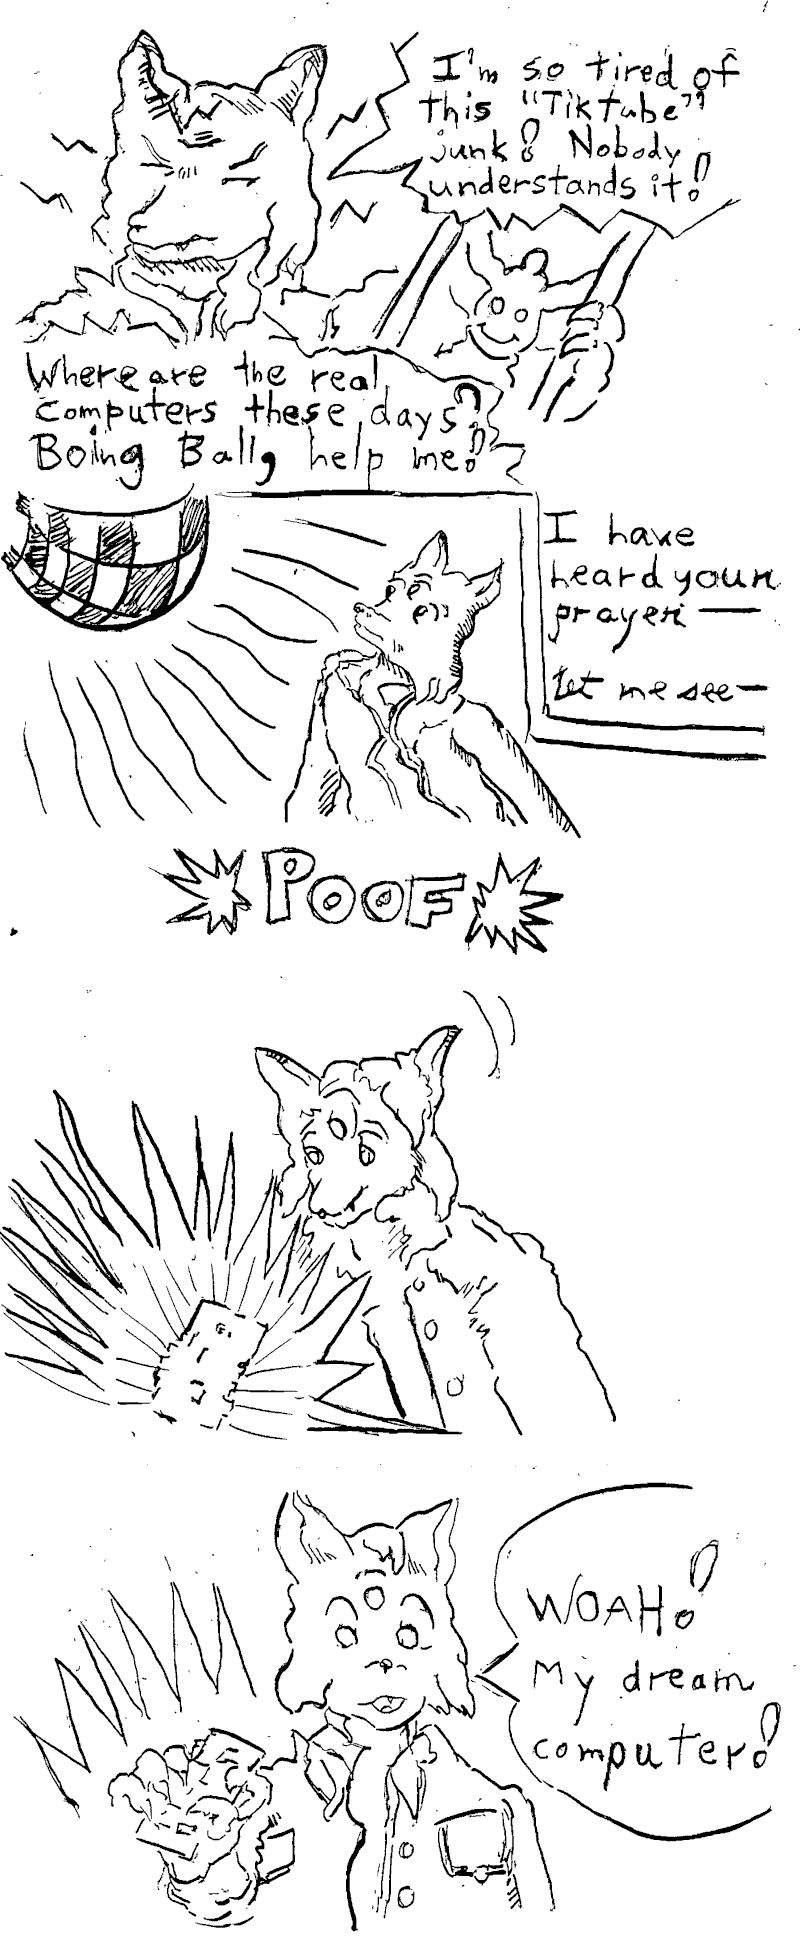
The Agon computing platform is one of the new hobby systems that are appearing these days, and is retro with an educational flavor. These are qualities that are in line with what I'm trying to do in my "cartooning" process, so I gradually found myself becoming more interested in it, doing coding experiments, and eventually getting the hardware.
A major step in my deciding to use the Agon computer as my target platform was in getting the actual board and setting it up. This posed some challenges that surprised me a bit, but I've documented it all so you might be able to reproduce my setup. I expect all of it will become outdated and historical quickly, but that makes it a valuable reference point too.
Because I'm in North America, shipping costs dictated that I go for the Agon Light 2, which I saw a listing for on Mouser. The difference between this board, the original Light and alternatives such as the Agon Origins and Console8 is that a few parts have been substituted to reduce cost without changing function, and there's a slightly altered I/O spec: some of the GPIO now goes to the the Olimex UEXT, and the PS/2 port in the original design is now a USB-A that only speaks PS/2.
To use the Light 2, I needed:
- The board itself.
- A case. Olimex has also designed a metal case, so I got that.
- Tools to seat the board and shut the case. I used an old screwdriver set: It needs T8 Torx(roughly) and Phillips head. There are inexpensive electronics screwdriver sets that will do this job well.
- A USB-C to USB-A data cable. Many USB-C cables are power only. If you don't know what you have, you can probably test it on your phone and see if it has data features when connected to the computer.
- A VGA monitor. The monitor I am using is a LONCEVON 7 inch Mini Monitor, model L0798A. It seems to work well and presents no difficulty with the higher resolution and refresh modes on Agon's VDP. This monitor is truly tiny, but it's a cute desk assistant and just great for what I need when developing.
- A VGA cable. I got a 3' cable to match the small monitor.
- A 3.5" audio cable. The Agon outputs dual mono(sorry, stereo lovers). This is also a short 4' cable, which plugs into the monitor. The monitor sound is good but the volume control is linear, unfortunately, which means that only the very bottom of the volume range actually makes any difference.
- A SD card. The card size maxes out at 32Gb. If you have a larger one you can still partition it to only use a 32Gb FAT32 space. The SD card can be preloaded with the "Agon Mite" software distribution so that you have a lot of software to play with immediately.
- A PS/2 compatible USB keyboard. This is an awkward requirement that is
challenging to shop for. Keyboards designed with a PS/2 plug should
technically work if you can find a passive adapter for them, however,
when I attempted this I was disappointed multiple times with adapters
that were actually active PS/2 to USB protocol, or adapters that were
apparently passive and made the keyboard lights come on, but did not
send input.
The keyboard I am using is a Perixx PERIBOARD-409U. This is the USB version of their 409 PS/2 keyboard. I specifically selected it because it had the PS/2 variant advertised. - A desktop computer capable of populating the SD card and running "esptool.py", the command line tool that accesses the Agon over the USB-C data cable and flashes the VDP firmware.
The total cost of this build (USD) was:
    54.41 AGONLIGHT2
    10.88 BOX-AGONLIGHT2-BLACK
    53.99 LONCEVION 7 INCH
    20.09 PERIBOARD-409U
    5.28 PASOW VGA (3 Feet)
    10.54 SANDISK 32GB SDSDXVT-032G-GNCIN
    9.85 AUDIO CABLE (4 Feet)
    12.99 FASGEAR USB-C 10GBPS
    ---
    178.03 plus shipping fees and my various erroneous purchases
While you can find computing devices that are cheaper, this package is very fleshed out for a personalized, hackable, open terminal. There's a decent amount of I/O and everything's reasonably well-documented so you really can do what you want with it. And it can run old Z80 code, but it's a much higher spec than the vintage machines.
If you are reading this years from now with newer board revisions, it's likely that you will have a board pre-flashed with some newer VDP that has OTA updates enabled, in which case everything with the firmware can be done by loading it on the SD card and running the update entirely on the Agon.
However, that's not the board I recieved, and these are the steps I followed, in total:
- Paint the case. I have some Posca acrylic markers so I took the opportunity to tag the case with some fun videogame scribbles.
- Assembly. Both the board and the case came with rubber feet. The case has some standoffs and screws as well. I organize these kinds of projects by using a cafeteria tray to hold everything.
- First boot. It does boot without an SD card, although it won't do much of anything interesting.
- Load Agon Mite on the SD to jump-start our software library with a premade distribution. The card should be formatted to exFAT, with a partition size of 32Gb or less.
- Update MOS firmware. This is done from the SD card, detailed later.
- Open the case and remove the jumper pins controlling UART and ESP programming.
- Update VDP firmware. This is done externally over USB-C.
- Done!
MOS Updating
My Agon Light 2 started with MOS 1.03 VDP 1.03
I am using envenomater's "agon-flash".
envenomator's guide gives a helpful flowchart.
Because I do not have VDP 1.04, I started by updating MOS.
SD card should be formatted with ExFAT to a max of 32Gb Place "flash.bin" and "mos.bin" on SD card MOS update using flash program "flash mos"
Here is what I did:
- DL the latest flash.bin
- DL the latest MOS version.
- Put MOS.bin on the root of SD card, put flash.bin in /mos
- Start Agon with SD card inserted.
*BYE
(case-sensitive) to leave BBC Basic - Type
flash mos
and press Y at the prompts
Now the MOS is flashed.
VDP Updating
This was done using a Solus Linux laptop on AMD64.
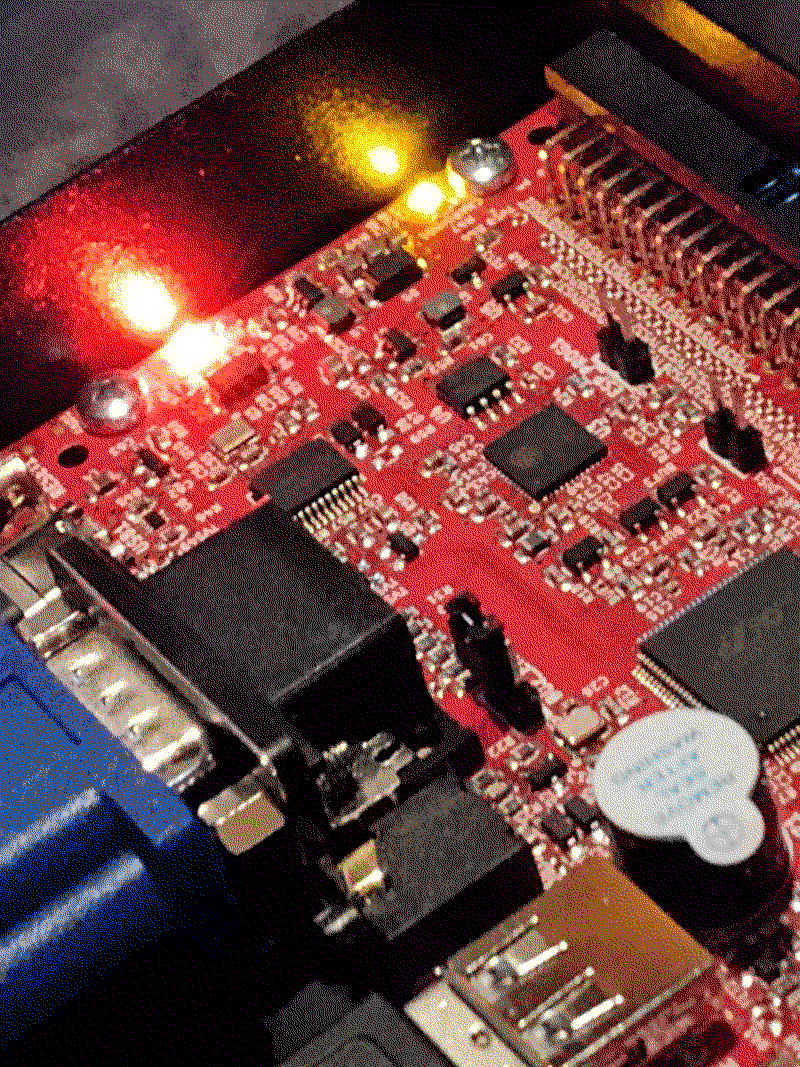
img-agon-light-2-jumpers.png
The jumper configuration I used to flash my Agon Light 2.
- The two jumper blocks controlling UART and ESP programming should be disconnected. (see picture)
- You MUST use a USB-C cable that is data-capable. If you happen to have an Android phone, this can be tested using the data features over USB-C.
-
Under Linux, you can also monitor the USB state with
udevadm monitor --udev
- Once you've verified that a usb device has appeared, most likely on ttyUSB0, we need esptool.
- I ran esptool as root to eliminate difficulty accessing I/O. To get running I typed (with a current Python 3 install):
-
to install esptool
sudo pip3 install esptoolto test again that an ESP32 device has been added to ttyUSB0sudo esptool.py --chip esp32 flash_id -
For this next step I used the build script that envenomator ships alongside all the firmware binaries.
DL the firmware package

    cd "firmware/Console8 2.8.1"
    chmod flash.sh +x
    sudo su
    ./flash.sh /dev/ttyUSB0
    exit
After doing this the Agon booted successfully to the 2.8.1 VDP. From here the on-device agon-flash should be usable for all future VDP updates. - When I went to reassemble my case, I put the jumpers back on the board and it stopped working for a moment. Then I realized I had them in a different configuration from where they started. After a little more fumbling around the Agon started working once more.
At this point, the Agon is ready for use. Details about using BBC Basic, getting around in MOS and how the VDP operates can be found from the Console8 docs.